 Save Pin
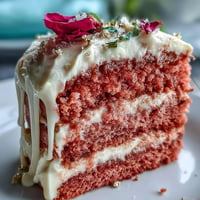
 The hum of the mixer and a cloud of powdered sugar always signal we're about to embark on a creative cake adventure. Last spring, my nephew's graduation called for something unique, so we transformed the kitchen into an art studio—complete with fondant smears and colored gel stains on our aprons. There’s something about sculpting a cake into a sports jersey that makes even a weekday feel like a championship game. The scent of freshly baked cake mingled with nervous excitement over getting those fondant stripes just right. I still laugh remembering how our 'test numbers' looked more like hieroglyphics before the edible markers saved the day.
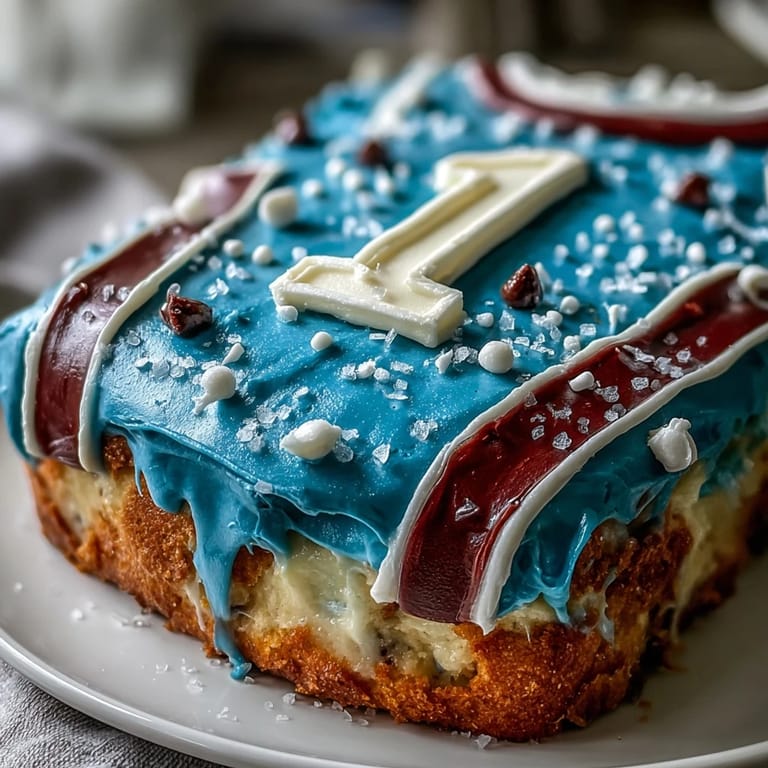
When my sister and I tackled this cake for our cousin’s celebration, her youngest insisted we add a glittery badge in the corner “just like real soccer jerseys.” We joked about awarding ourselves gold medals for surviving the buttercream crumb coat phase, but honestly, sharing laughs made each step sweeter. The cake became more than dessert—it was a centerpiece everyone admired, camera flashes included. Guests were so impressed, they thought we'd ordered it from a fancy bakery.
Ingredients
- All-purpose flour: Be sure to sift—this yields a lighter, more tender cake crumb.
- Baking powder: Measure precisely for an even rise without tunnels in the cake.
- Salt: Just enough salt balances the sweetness and brings out vanilla flavors.
- Unsalted butter: Let it soften fully so your batter whips up fluffy and smooth.
- Granulated sugar: Creaming sugar and butter patiently creates the signature jersey-cake softness.
- Eggs: Crack one at a time; good emulsification is key for the cake’s structure.
- Whole milk: Room temperature milk integrates easier and avoids a lumpy batter.
- Vanilla extract: Use pure vanilla for maximum aroma—the kitchen will smell like a bakery.
- Powdered sugar: Sift before measuring to keep the buttercream perfectly smooth.
- White fondant: Dust your workspace with cornstarch to prevent sticking.
- Food coloring gel: Start with tiny drops—add slowly for vivid team colors without stain overload.
- Edible black food marker or black fondant: The marker makes it easy to personalize numbers and names neatly.
- Cornstarch: Essential for rolling out fondant cleanly and mess-free.
Tired of Takeout? 🥡
Get 10 meals you can make faster than delivery arrives. Seriously.
One email. No spam. Unsubscribe anytime.
Instructions
- Heat Up the Kitchen:
- Preheat your oven to 350°F (175°C) and line your 9x13 inch pan with parchment so the cake lifts out easily later.
- Mix Dry Ingredients:
- Whisk flour, baking powder, and salt together—the airy heap will feel soft and effortless.
- Cream for Volume:
- Beat the butter and sugar until pale and billowy, letting your mixer do most of the work; then add eggs one at a time, scraping the bowl to ensure a silky batter.
- Blend and Fold:
- Drizzle in vanilla, then alternate dry mix and milk, folding until just combined—watch the batter transition to a rich cream.
- Pan and Bake:
- Pour batter into your prepared pan and smooth the surface. Slide into the oven and let the house fill with the aroma of celebration for 35-40 minutes.
- Whip Up Buttercream:
- Beat the butter to pale perfection before sifting in powdered sugar. Add milk, vanilla, and salt, then whip until fluffy and cloud-like.
- Shape Your Jersey:
- Once the cake is cool, gently carve it into a jersey shape. Use slow, confident strokes with the serrated knife for clean edges.
- Crumb Coat Time:
- Cover cake in a thin layer of buttercream and refrigerate for 30 minutes; this step is crucial for a fondant-ready surface.
- Tint and Roll Fondant:
- Wearing gloves, knead food coloring gel into fondant, then roll out to 1/8 inch thick on a cornstarch-dusted surface.
- Drape and Smooth:
- Lift the fondant and gently lay it over the chilled cake, smoothing out air bubbles and trimming excess for clean lines.
- Add Jersey Details:
- Create stripes, numbers, and collars with colored fondant or edible marker. Don’t rush—this is where the magic shows up for photos.
- Finish and Display:
- Transfer your masterpiece to a serving board and let the applause begin as you unveil your edible jersey.
 Save Pin
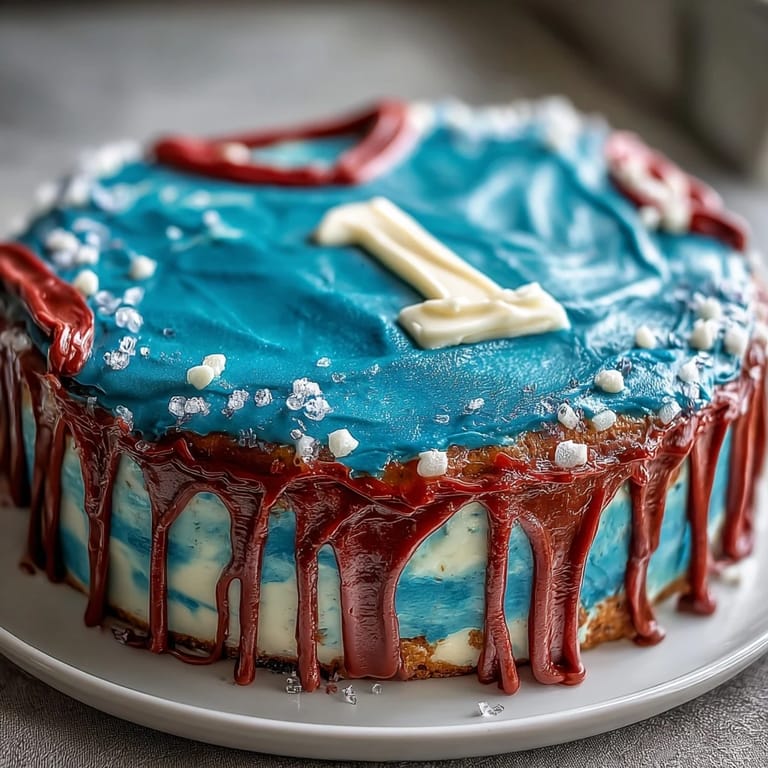
 Watching my nephew’s face brighten as he spotted his name and graduation year on the cake’s sleeve made every minute worthwhile. The kitchen turned silent for a moment, then filled with cheers and stories about favorite game-day victories—suddenly, dessert was a reason to reminisce together.
Choosing Your Colors Like a Pro
Experimenting with team colors is half the fun; the shades mix quickly, and a little gel goes a long way. If you’re stuck deciding, ask guests to vote on their favorite combo. I once tried blending teal and yellow for an underdog team, and it made everyone smile at how bold it looked.
Cake Carving Confidence
The first cut can feel intimidating, but if the outline isn’t perfect, it’ll be hidden under buttercream and fondant anyway. Sketching the jersey shape lightly with a toothpick helps map out the armholes and shoulders. Even lopsided collars end up charming—just call it sporty flair.
Fondant Decorating Tricks
Fondant can be sticky, so keep extra cornstarch nearby for rolling and smoothing. Layer details like stripes and numbers after the base fondant is secure, pressing gently to avoid tearing the surface. Edible markers add personality with zero fuss.
- Always let colored fondant rest for 10 minutes before rolling.
- A kitchen ruler helps measure collar and stripe placement accurately.
- Clean your hands between color changes to avoid muddy streaks.
 Save Pin
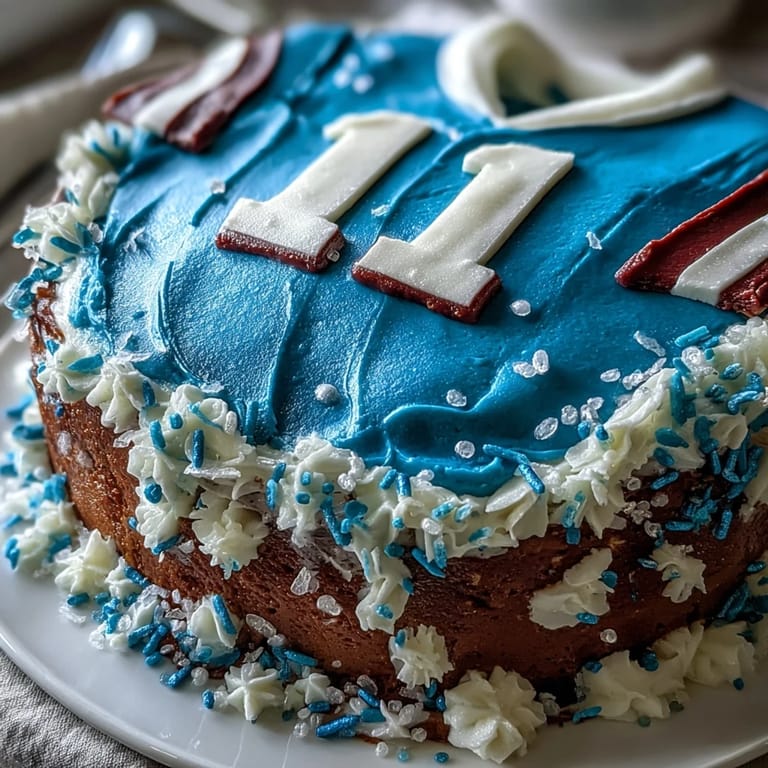
 Every jersey cake captures the spirit of celebration and teamwork. Make room for applause—you’ll be surprised how fast slices disappear.
Recipe Questions & Answers
- → How do you shape the cake into a jersey?
After baking, use a serrated knife to carve the cooled cake into a rectangle with curved shoulders and small side indentations for armholes.
- → What colors can be used for the fondant?
You can tint fondant with any team colors using gel food coloring, including blue, red, green, or custom shades to match your theme.
- → Can the cake be personalized?
Absolutely. Use colored fondant or edible markers to add the graduate’s name, number, stripes, and graduation year for a unique touch.
- → Is chocolate cake an option?
Yes. Substitute ¾ cup of flour with unsweetened cocoa powder to create chocolate cake layers instead of vanilla.
- → What tools are needed for decorating?
Essentials include a cake pan, mixer, mixing bowls, serrated knife, rolling pin, parchment paper, and fondant smoother for detailed work.
- → Are there allergy concerns?
This cake contains wheat, eggs, and milk. Check fondant packaging for possible nut traces if allergies are a concern.